Use an Azure file share with Windows in S2S or P2S VPN
Use an Azure file share with Windows in S2S or P2S VPN
How to get the file share, in S2S VPN network
Please follow the article to create a storage account in Azure and use the file share as a local disk in your windows machine using PowerShell. This is specifically for a S2S VPN connection
Note: I am assuming that, you are already connected to your Azure infrastructure using the PS
1. Create a azure resource group (if you have one already created, you may use that also.) Substitute the names accordingly as below
New-AzResourceGroup -Name manazrg -Location southindia
2. Create the new storage account in the resource group created. I am going to select ‘Standard Locally Redundant Storage’ here. you may select other storage types also
New-AzStorageAccount -ResourceGroupName manazrg -Name manazsg -Location southindia -SkuName Standard_LRS
3. Find the secret key of the storage account just created
Get-AzStorageAccountKey -ResourceGroupName “manazrg” -AccountName manazsg
Copy one of the key for the purpose
4. Substitute the key in the following cmdlet to create the required share
$azShare = New-AzStorageContext “manazsg” “your key here”
Create share:
New-AzStorageShare manaznetshare -Context $azShare
manazsg is the storage account created and manaznetshare is the share name here. In the above example share created, the share name is as follows
\\manazsg.file.core.windows.net\manaznetshare
Now the share is ready for the use in your computer.. As the final step, you need to map the drive locally in your computer
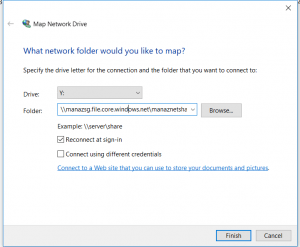
5. From windows explorer, click ‘Map Network Drive’. this will open the map drive dialogue. Select the required drive and substitute the share name: \\manazsg.file.core.windows.net\manaznetshare and click ‘Finish’.
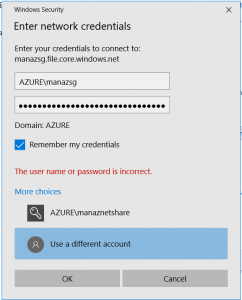
In the following window, we need to provide the username and password. Also, check ‘Reconnect
Username is always AZURE\<storage account name> and Password is your key copied in step 3.
Now, you can see the azure mapped drive in your windows explorer as follows
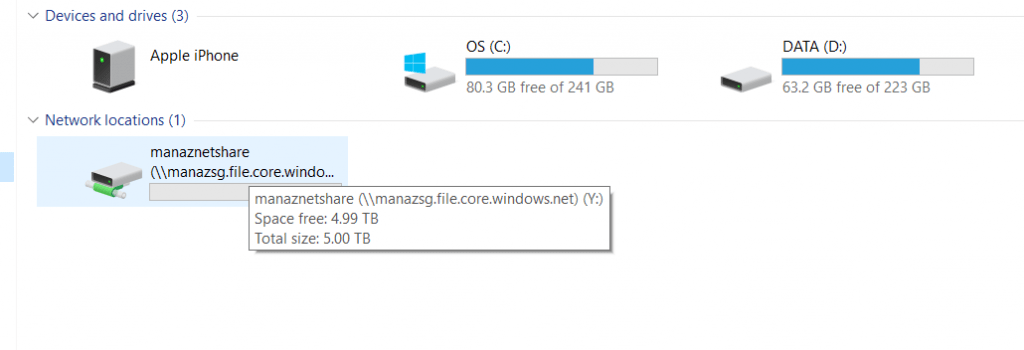
Enjoy Azure drive sharing in your local computer 🙂
How to get the file share, in P2S VPN network
I found a different request. How to get the file share, in P2S VPN network. Here are the steps
Here for P2S, to create a file share and access it from the desktop, you need to create and configure a Private End Point under the subnet you have the storage account exists. Go to ‘Private Endpoint Connection’ under settings of storage account in azure portal as below:
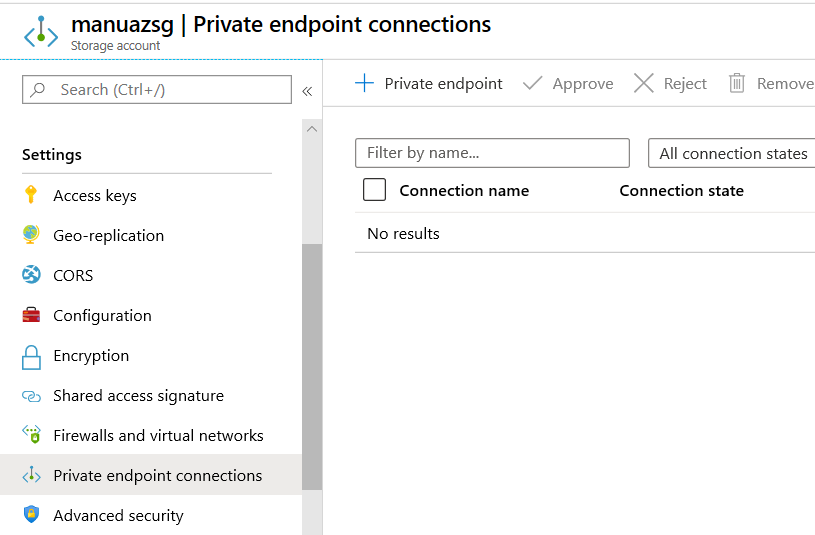
Next create it as shown in the below figure. Remember to select the options as shown:
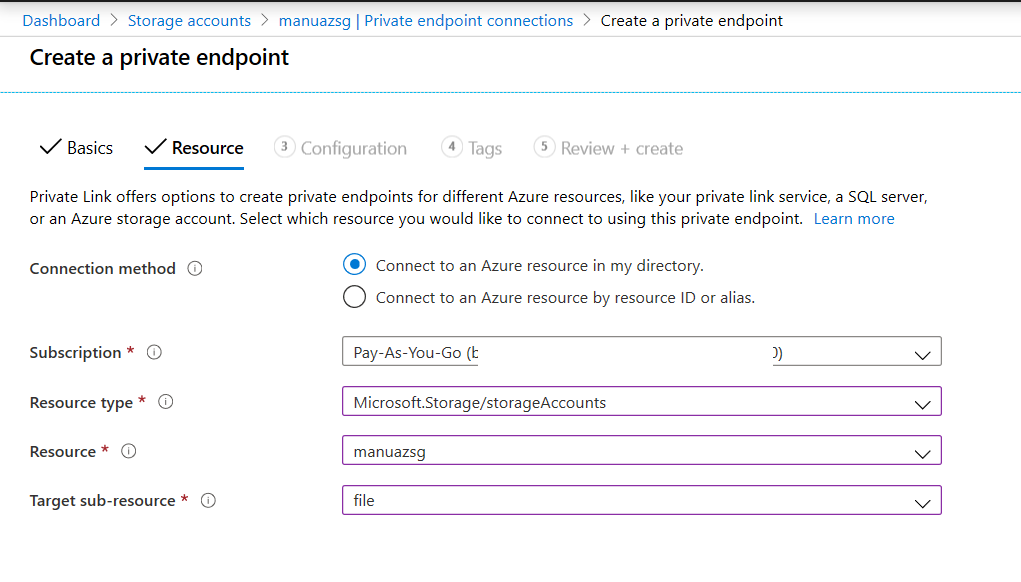
Follow the steps and select the subnet created in earlier steps. Once the creation is completed, note the Network interface IP address from the summary page. This the IP address which you can connect through your P2S network
When you map the drive, use the folder format as \\Private IP Address\Filesharename Note: Here you need to use the file share name instead of storage account name
Hope, the above additional steps helps to connect the file share using the P2S network