Allow/Restrict folders in Azure Storage account containers with SFTP for Local users
Adding ACL Permissions to local users for respective directories is bit tricky. Also, there is no end-to-end documentation found from Microsoft to deal with this. You can follow the steps below, if you have such a requirement
Pre-requisites:
- A ready Azure storage account with SFTP enabled
- A container to be created within the stoarge account
- Folders/Sub-folders to be created within the containers
Here are the steps-by-step procedure
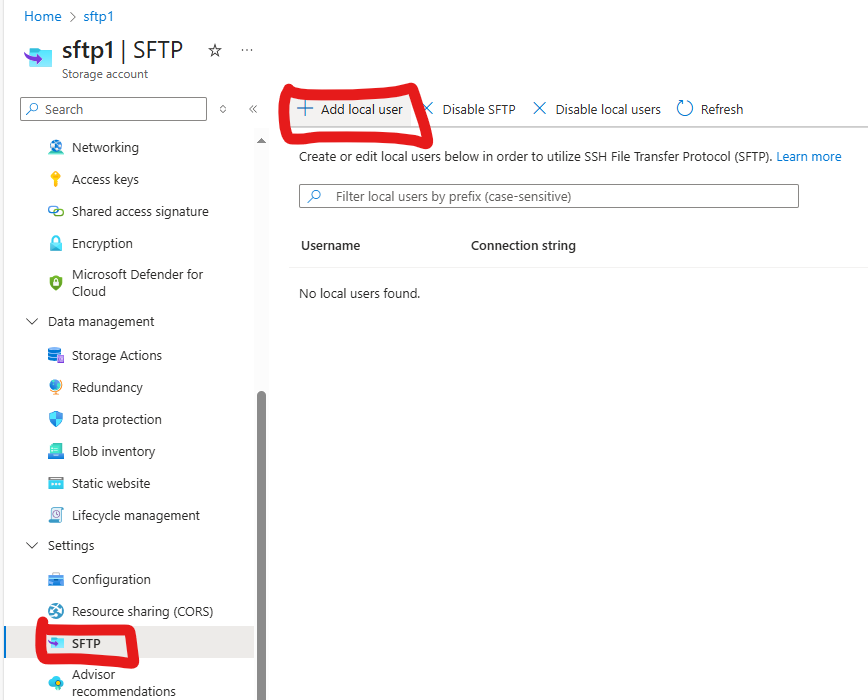
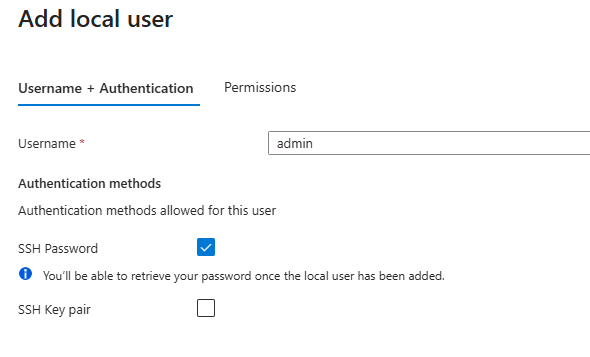
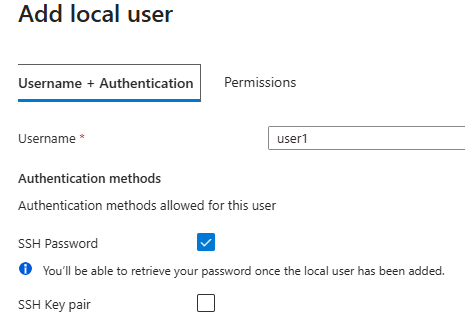
- Create an admin SFTP local user
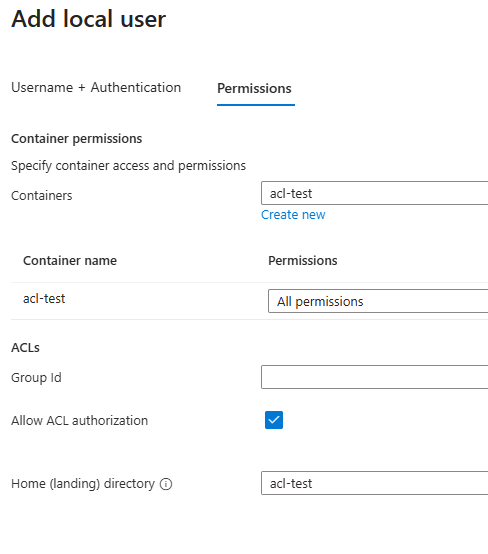
Select the container name, Permission as ‘All Permissions’, Allow ACL authorization, landing folder as above
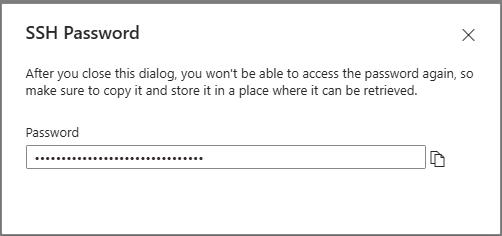
Copy the SSH password securely
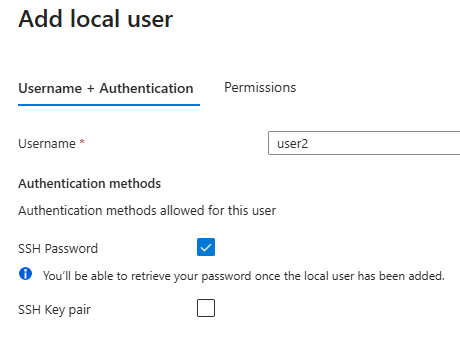
2. Create SFTP local users
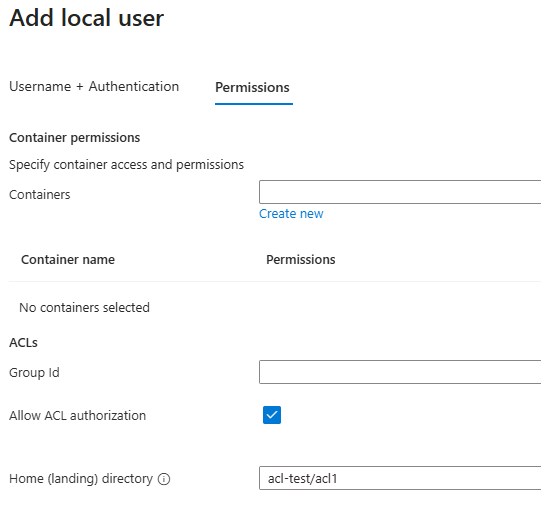
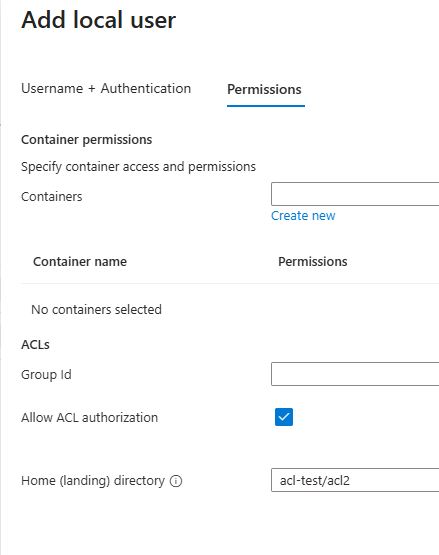
Create the users with the following properties. Note that, the user has to be created with a permission to access the required home folder. Container/access permissions are not required to selected for the users
Here I am adding two users – user1, user2 with different folder set as home directory
3. Login to sftp with admin user and make necessary ACL restrictions to each user
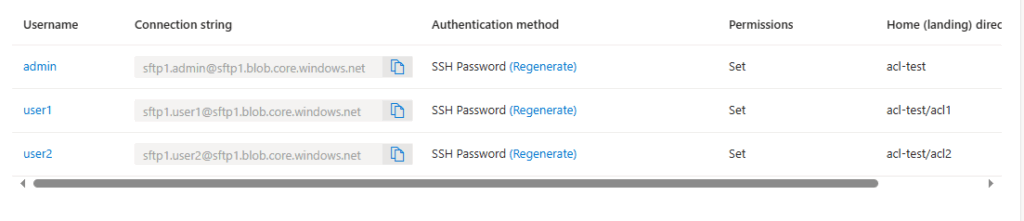
The user connection strings can be accessed from the portal as below:
Connect the sftp using Windows PowerShell with the following command. Enter the password when prompted
sftp sftp1.admin@sftp1.blob.core.windows.net

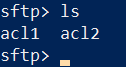
Using the ls command, folders can be listed as below:
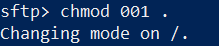
The easiest way for providing individual folder permissions to users is to give, X permissions to all other users with the following command
chmod 001 .
Now, get the user ids as below from the local user properties
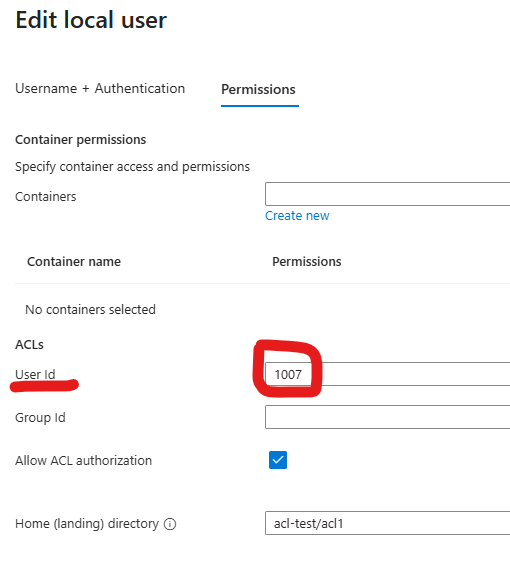
The best way to assign individual permissions to each user is to change the owner property of the directory. In the following commands, owner property of folders and sub-folders are going to be changed with respect to the user IDs
chown 1007 acl1/*
The above command will change the owner property of acl1 folder and sub-folders to the user with user-id as 1007. Note that, I have created two sub folders named incoming and outgoing

Change the ownership of the next folder(s) also on the similar way as explained above
So, we finished the settings and it’s ready to be used. Now, you can try login with the user credentials, and it allows to access only the respective folders with owner permissions to the user